REVIEW · PUERTO PRINCESA
Puerto Princesa Honda Bay Island Hopping
Book on GetYourGuide →Operated by TravelCart Travel and Tours · Bookable on GetYourGuide
A short boat ride can feel like a whole vacation. In Honda Bay, you get a fast getaway from Puerto Princesa to three islands with snorkeling, white-sand time, and guided sightseeing—without turning the day into a full-on endurance test.
I really like that the tour starts with practical logistics: you’re picked up and taken to the Sta. Lourdes Wharf jump-off point with air-conditioned transfers, so you waste less time figuring things out. I also love the snorkeling focus on Pambato Reef, plus the option to add kayaking when you reach Luli Island and Cowrie Island.
One thing to consider: this outing isn’t for everyone—if you’re prone to seasickness, plan carefully, because you’ll be on and off boats through the day.
In This Review
- Key Things You’ll Notice on This Honda Bay Tour
- From Puerto Princesa to Sta. Lourdes Wharf in One Smooth Flow
- Pambato Reef: Guided Snorkeling on a Reef That’s Easy to Enjoy
- Luli Island: Sandbar Time Plus Optional Kayaking Fun
- Cowrie Island: Lunch, Swimming, Snorkeling, and a Second Kayak Chance
- The Value Play: Is $41 Worth It in Honda Bay?
- Comfort, Safety, and What to Bring (So Your Day Feels Easy)
- Timing and Flow: Why the Itinerary Works for a Relaxed Day
- Should You Book Honda Bay Island Hopping?
- FAQ
- What islands are included in the Honda Bay island-hopping tour?
- How long is the tour?
- Where do I get picked up, and do I have options?
- Is lunch included?
- Is snorkeling gear included?
- Do I get a life vest?
- Is there an extra environmental fee?
- Is the tour guided, and what language is used?
Key Things You’ll Notice on This Honda Bay Tour
- 30-minute transfer to Sta. Lourdes Wharf, so the islands feel close and reachable
- Pambato Reef snorkeling and marine-life spotting with a licensed English guide
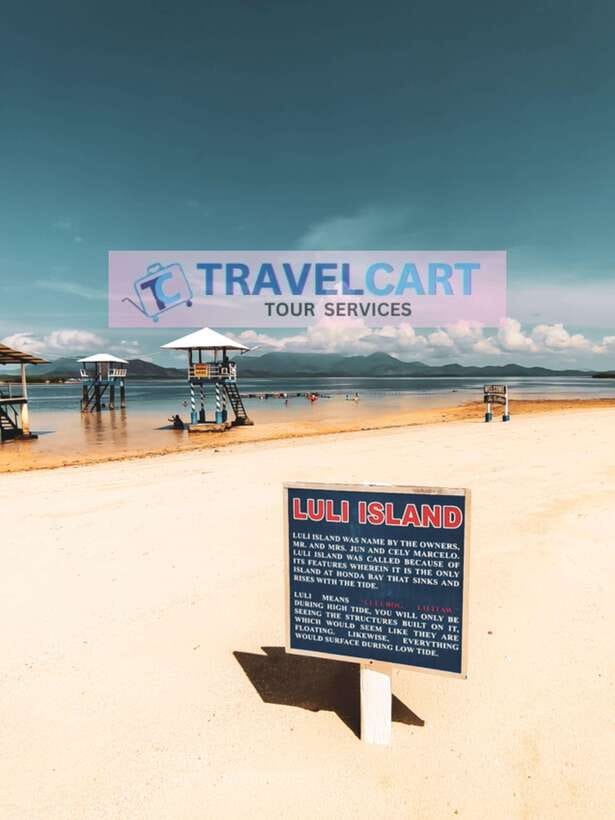
- Luli Island sandbars where the scenery feels unusually close and playful
- Cowrie Island lunch included, giving you a clear midday break
- Kayak rentals on request, so you can go at your own pace
- A laid-back rhythm (short rides between islands, guided stops that don’t rush)
From Puerto Princesa to Sta. Lourdes Wharf in One Smooth Flow
This Honda Bay experience is built around one simple idea: keep travel time reasonable and spend your energy on water time. After pickup, you move by air-conditioned van toward the jump-off area, then transfer by boat from Sta. Lourdes Wharf. The whole tour runs about 7 hours, which is perfect if you want an island day but still want your evening in Palawan to feel normal.
You’ll have two main pickup paths. Some tours pick you up from TravelCart Tour Services near Puerto Princesa International Airport, while others start at the airport itself. If you’re staying in Puerto Princesa city proper, you can also get free hotel pickup and drop-off as long as you’re within the city limits or within about 15 kilometers from the center.
What makes this feel good in real life is pacing. You’re not starting with a long, stressful trip, and you’re not left stranded at a wharf with no plan. Your guide handles the paperwork and keeps things moving, which matters when you’re juggling snorkeling gear decisions.
If you have a tight flight schedule, it’s worth telling your guide early. There’s an example of the service being helpful with dropping someone at the airport because the next flight came right after the tour.
You can also read our reviews of more tours and experiences in Puerto Princesa.
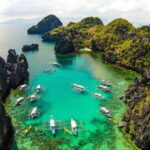
Pambato Reef: Guided Snorkeling on a Reef That’s Easy to Enjoy
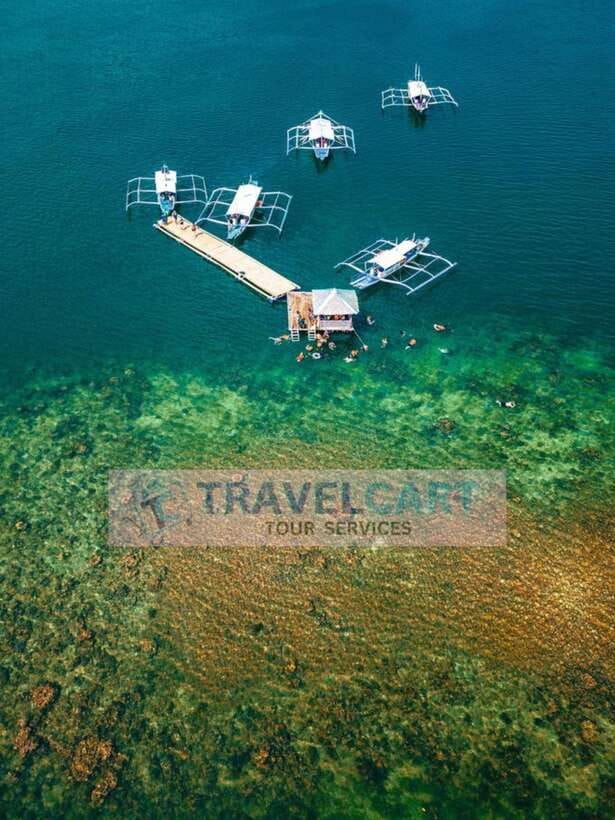
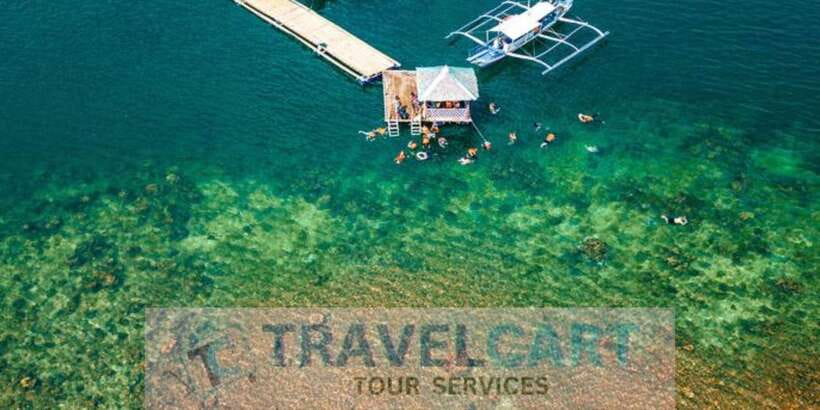
The first real stop is Pambato Reef, where the goal is to get you into the snorkeling zone and looking for marine life without making the day complicated.
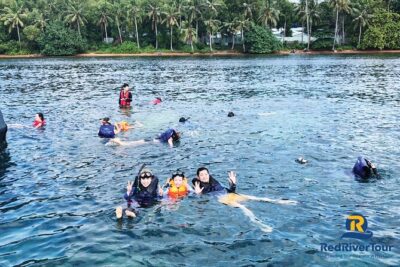
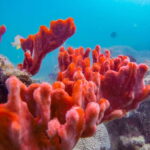
You’ll typically spend about 1.5 hours here with guided time plus chances to swim and snorkel. The reef area is known for coral and marine life, and you’ll also get sightseeing along the way. Even if you’re not a hardcore snorkeler, this is the kind of spot where you can still enjoy the water and the view.
A couple practical points that help you enjoy Pambato Reef more:
- Bring your comfort items: you can rent snorkeling items on-site, but knowing what you’ll want makes the first stop smoother.
- Wear proper water shoes if you have them (or plan to rent). This matters because boats and shore transitions can be awkward if your footwear isn’t secure.
Also, you’ll have a life vest included, which takes some pressure off if you’re not the strongest swimmer. If you’re comfortable in water, you’ll still like having the extra safety cushion.
The main drawback? Reef snorkeling can vary by water conditions, and the stop is only about 90 minutes. If you’re the type who wants to linger for hours, you’ll need to remember this is a multi-island sampler day, not a single-location long session.
Luli Island: Sandbar Time Plus Optional Kayaking Fun
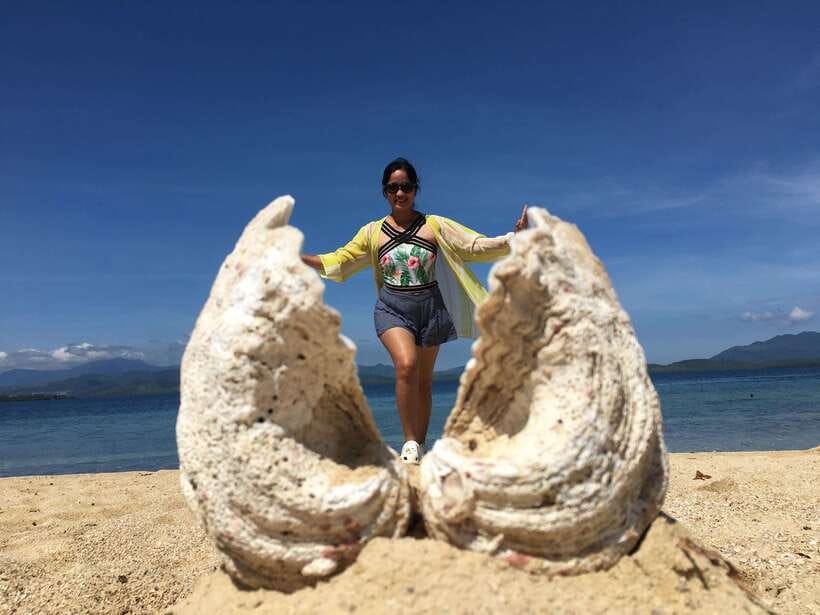
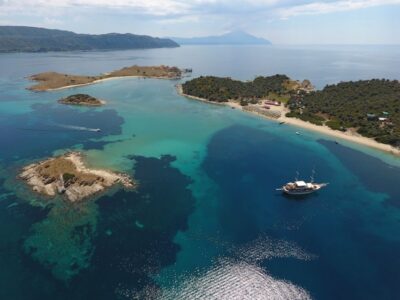
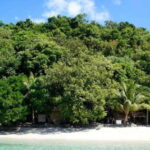
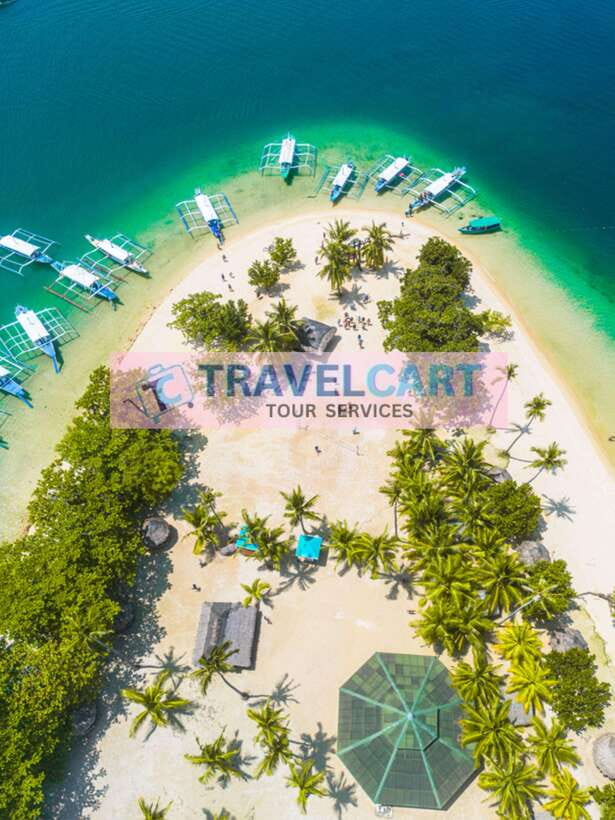
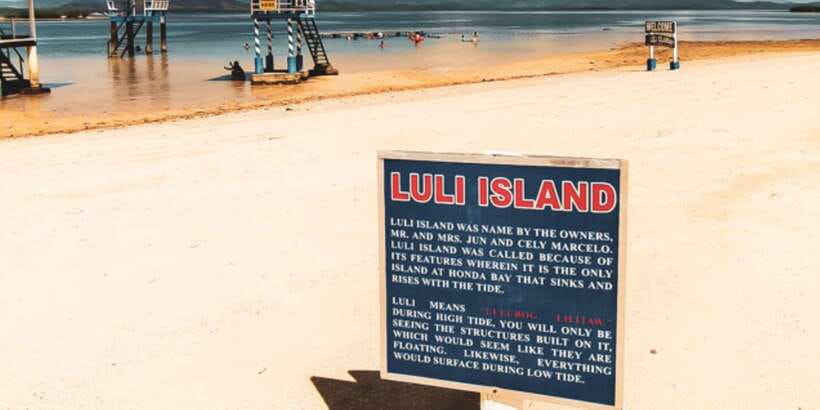
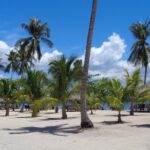
Next up is Luli Island, another highlight of the Honda Bay lineup. Expect around 1.5 hours here with time to swim, snorkel, and take in the scenery. The standout feature is the unique sandbar look—those “where does the beach end?” moments that make photos fun and make the water feel special.
This is also where kayaking shows up on the plan. The tour notes that you can rent a kayak—just ask your guide—so you can choose whether you want a calmer paddle exploration or you’d rather stay close to the swimming/snorkeling area.
Why I think Luli works well for most people:
- You’re getting a mix: water time, views, and a chance to move under your own power (if you kayak).
- You’re not stuck on a strict schedule. The guided portion keeps you oriented, but you still have freedom to choose what you spend your minutes on.
If you’re worried about equipment, don’t. You can generally plan on gear availability for snorkel use and water shoes. But kayak rentals are explicitly listed as not included, so decide ahead of time whether kayaking is a “must-do” for you.
One more honest consideration: sandbar areas can be visually stunning but also feel small and close. That can be great for photos and short swims, but if you’re someone who wants total space and quiet, keep your expectations realistic.
Cowrie Island: Lunch, Swimming, Snorkeling, and a Second Kayak Chance
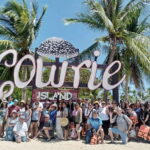
The last island is Cowrie Island, with about 2 hours on the schedule. This is your built-in recovery and refuel stop because lunch is served here.
The mix at Cowrie Island mirrors the best parts of earlier stops:
- guided time and sightseeing
- swimming and snorkeling opportunities
- kayaking again (with rental availability as mentioned)
The practical advantage of finishing with lunch on the island: you don’t have to worry about finding food near the wharf or fitting a meal between boat legs. You just settle in, eat, and then get back into the water while your energy is still good.
Cowrie also helps balance the day. Earlier stops are all about reef and sandbar scenery. Ending here gives you a more relaxed-feeling wrap-up with more time at one location.
What to watch for:
- If you feel even slightly tired, this is where you’ll be glad you wore sunscreen and used breaks earlier. Two hours sounds comfortable, but you’re still doing a day on the water.
- If snorkeling is your priority, you’ll want to time your lunch break so you’re still fresh for the second round of swimming.
The Value Play: Is $41 Worth It in Honda Bay?
At about $41 per person for a roughly 7-hour outing, this is one of those “good value if you use what’s included” deals. The package includes:
- air-conditioned van transfers with hotel pickup/drop-off (within the stated area)
- boat transfers between islands
- a licensed English-speaking guide
- lunch
- a life vest
- entrance fees for the islands visited
That matters because island-hopping days can get expensive fast once you add boats, guides, and access fees. Here, lunch and basic safety gear are already covered.
Two costs you should account for:
- An environmental fee of PHP 150 per person (approx. USD 3) isn’t included.
- Snorkel gear, water shoes, and kayak rentals aren’t included. You can rent gear and water shoes near the jump-off area and on the islands, and you can rent a kayak for extra water time.
So the value equation is simple:
- If you plan to snorkel (or at least try), want lunch included, and you’re okay paying extra for gear/kayak, the $41 price is very reasonable.
- If you already own your snorkeling setup and you don’t care about kayaking, you may get an even better “cost per hour on the water” feeling.
Comfort, Safety, and What to Bring (So Your Day Feels Easy)
Island hopping is fun, but only if you don’t fight your own body or packing choices. Here’s the essentials based on the tour rules and how the day typically works.
Bring:
- a valid ID card (a copy is accepted)
Think about footwear and basics:
- water shoes are strongly helpful if you plan to snorkel and walk on uneven surfaces
- sunscreen and quick-dry clothes help you enjoy longer water sessions (not stated, but it’s the kind of common-sense move that pays off in a tropical bay)
Leave behind:
- jewelry (not allowed) and anything breakable like glass objects
- high-heeled shoes
- oversized luggage and extra bags—keep it simple
- anything that falls under the tour’s “no weapons/sharp objects” rule
The day also has clear behavior boundaries:
- no smoking
- no littering
- no intoxication, and alcohol isn’t allowed in the vehicle
This is also not designed for everyone. It’s not suitable for wheelchair users, people with heart problems, people with a cold, or anyone prone to seasickness. If you’re on the edge with motion sickness, take that seriously. The boats and short transfers add up.
Timing and Flow: Why the Itinerary Works for a Relaxed Day
The schedule is built as a loop. After pickup, you’ll ride in a van and then jump onto boats for the island hops. Between stops, you’ll have short water transport legs—about 30 minutes each—so you’re not stuck waiting around for long stretches.
The general rhythm looks like:
- van to the launch point
- boat transfer to Pambato Reef
- boat transfer to Luli Island
- boat transfer to Cowrie Island
- van ride back and drop-off at airport or the TravelCart service location
This “move, enjoy, move again” flow is why the tour feels accessible even for people who aren’t trying to turn Palawan into a marathon.
It also explains why the day ends around that 7-hour mark. It’s long enough to feel like a real island day, but short enough that you can still plan dinner and a relaxed evening.
Should You Book Honda Bay Island Hopping?

Book this tour if you want a guided, low-stress island day with snorkeling at Pambato Reef, sandbar scenery at Luli Island, and an easy lunch stop at Cowrie Island. The included guide, lunch, entrance fees, and life vest make it a practical pick, especially if you don’t want to build the day yourself.
Think twice if:
- you’re prone to seasickness
- you need wheelchair access (it’s not suitable)
- you’re hoping for a single location where you can stay for hours at a time
If you can handle boats and you’re excited by reef snorkeling plus optional kayaking, this is a solid use of your time in Palawan.
FAQ
What islands are included in the Honda Bay island-hopping tour?
The tour includes Pambato Reef, Luli Island (including its sandbar area), and Cowrie Island.
How long is the tour?
The duration is about 7 hours.
Where do I get picked up, and do I have options?
You can start from TravelCart Tour Services or Puerto Princesa International Airport. If you’re staying within Puerto Princesa city proper or within about 15 kilometers from the city center, pickup and drop-off are included.
Is lunch included?
Yes. Lunch is served on Cowrie Island.
Is snorkeling gear included?
No. Snorkel equipment, water shoes, and kayak rentals are listed as not included.
Do I get a life vest?
Yes. A life vest is included.
Is there an extra environmental fee?
Yes. There’s an environmental fee of PHP 150 per person that is not included.
Is the tour guided, and what language is used?
Yes. The tour includes a licensed English-speaking guide.